sanding a Jarrah (wood) floor
Posted on July 23, 2012 - Filed Under Environmentalism, Humor, News, Personal
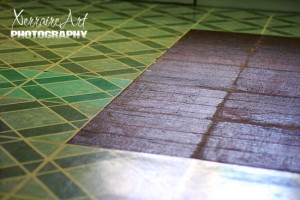
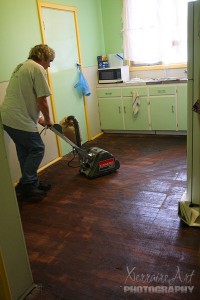
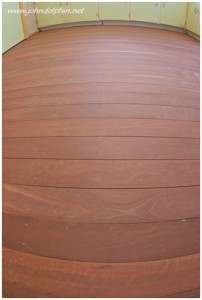
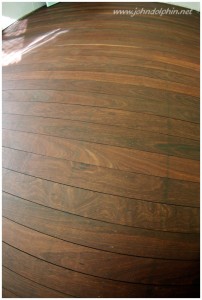
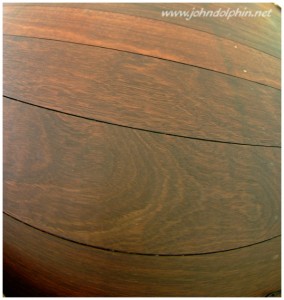
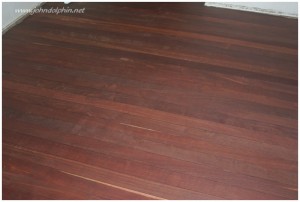
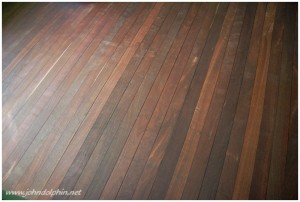
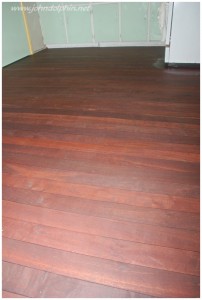
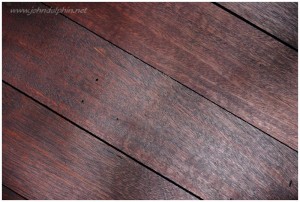
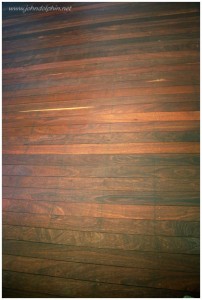
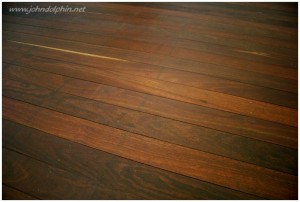
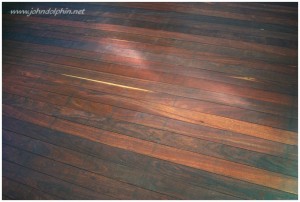
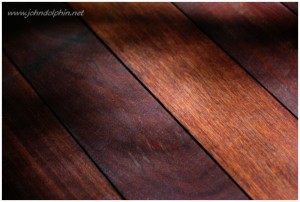
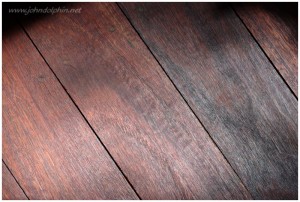
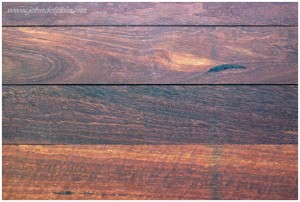
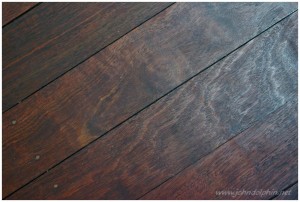
Hi Boz, or do I call you Mrs Dolphin now, you may like to know that I (finally) finished doing my (ooops our) kitchen floor. You know, the one you started back in March by ripping up (whilst I was at work) 2 of those rather yuck tiles, that started out grey, but some had turned green and started to crack and break up, I dont think sticky vinyl tiles were meant to be stuck to a wooden floor that expands and contracts with the weather. Below are a few pics of the progress, the first 2 you are familiar with, as you took them. The sanded floor free of glue and without the hideous yellow quarter rounds (what do I do about the door frames). The sanding wasnt too hard, a bit scary as the machine seemed quite aggressive (and noisy) and took a bit of controlling. The hard part was to let it down slowly as I walked, not "drop" it suddenly. Sanding should be done with the grain, but to get the glue off initially I had to go diagonal. The other hard part was cleaning sticky sawdust off the sander. The edge sander was harder to use though, not sure I got the hang of that one, in the end I did a bit of patching up using dads square orbital sander 🙂 . There was a bit of hand sanding too in hard to get to areas. I also didnt do the draw scraper thing, maybe I should of :), but $40 ???? The above pics are from various angles and times of day after one coat of oil. I went with Livos Ardvos natural oil, rather than polyurethane. After some research and reading various woodworking and renovation forums I liked the idea of oil. It soaks into the wood and hardens rather than sits on top as a plastic coating. It is also easy to repair (my kind of finish) with a light sanding and reoiling, plus I wasnt moving out of the house for a week until the poly fumes went away, this stuff has a light smell of linseed oil and so far it feels nice under my bare feet. It is dead easy to apply too, no mixing parts A and B just a good stir, brush it on with one of those lambswool brush/mop things, leave it 20 minutes then wipe of the excess then leave it 24 hours between coats, although I did walk on it in as soon as it felt dry, wearing socks 🙂 . After 2 coats, one more to go and a photo or two to go with it. OK 3 coats of oil down, so I guess it is technically finished some close up photos of parts of the floor to show the grain patterns. There a few areas I am not happy with, especially with the nail holes where the wood putty didnt blend in as good as I hoped. I used 3 colours of putty, black, jarrah and a beige. Mixing them together to get different shades. Also after the first oiling dark lines appeared which I think are where the joins in the vinyl tiles were (they are the right distance apart), not sure what I could of done about those. Sanded more? Anyway I am happy it looks a lot better than the vinyl tiles, now I dont want to put the furniture back in the room on my new floor lol.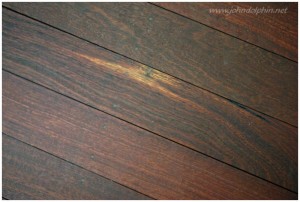 what do you think?, worth the effort?
Comments
11 Responses to “sanding a Jarrah (wood) floor”
Leave a Reply


Wow, your kitchen floor now looks more stunning. Great job!
Mrs. Dolphin will do nicely.
🙂
I LOVE our new floor.
I will let you know more after I’ve had to take care of it.
🙂
its “ours” cos it turned out OK ? 🙂
Okay, the pics are loading now. Well, some are.
When I visited before, all the pics showed up as link text (alt text I assume) and only the first few would load when clicked. This time the first few (up to “after 2 coats”) are showing as text but all the others are loading in place as images.
I blame Bill Gates 🙂
It looks fantastic, very rich!
It’s ‘ours’ because we BOTH did it.
🙂
Ok, you did the most, but I doubt you would have if I hadn’t started it for you.
😉
I had a client that was selling a solution that you put on the floor as an alternative to sanding. I’m not sure how it works, but its supposed to be healthier and greener than sanding (because of the particles). Personally, I actually like sanding floors – something about a fresh start 🙂
I found the article on the clients website about health risks of sanding floors if you’re interested: http://www.shinyfloors.co.nz/sanding-wood-causes-cancer/
The flooring looks so beautiful and elegant.
Thanks Brad
it needs a nice small sheoak table on it
what do you reckon 🙂
you sure make impressive looking stuff
Many thanks for the great write-up, I was searching for information like this, visiting take a look at the other posts.